

Guides
Your first pottery class: what actually happens
You do not need any experience, and you will get dirty. The rest is more interesting than most people expect, including the part where your pot disappears for two weeks.
By Hlinotéka studioPublished 3 min read
Do you need experience?
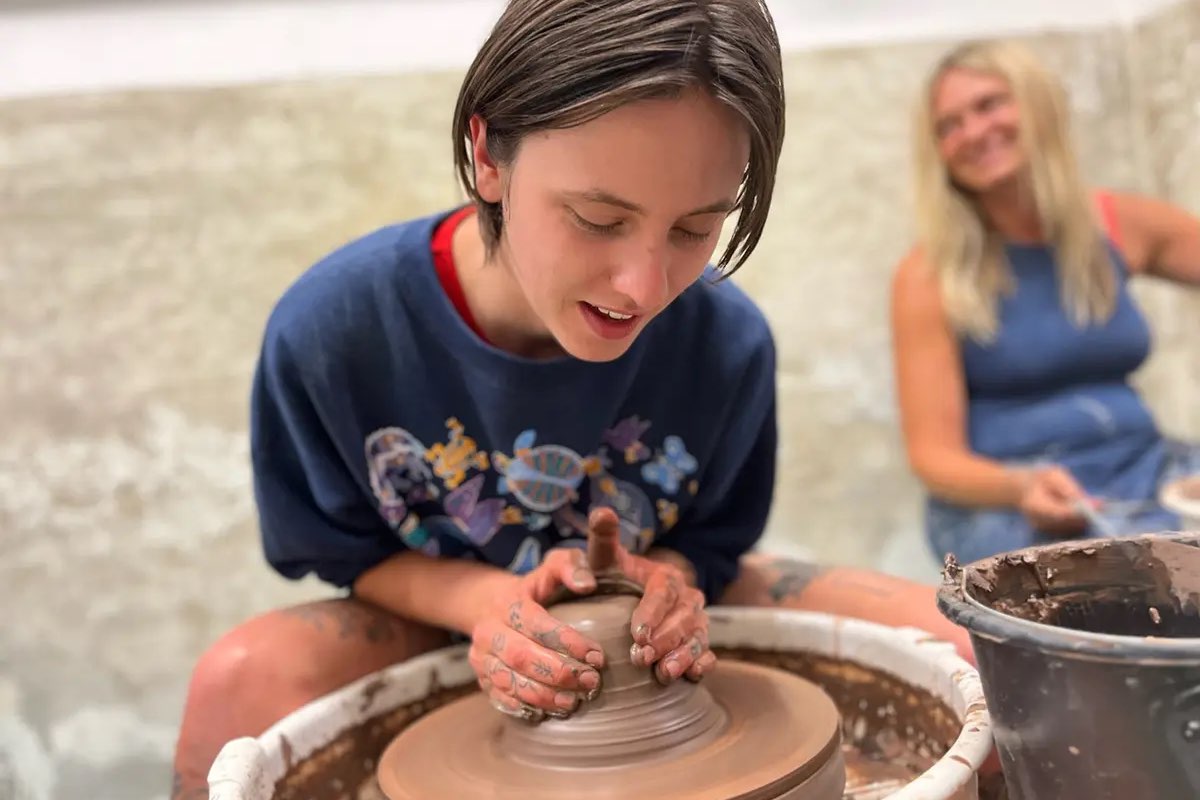
No. Beginner classes assume you have never touched clay. The first thing a teacher does is show you how clay behaves: how much water it takes, how it cracks when it dries too fast, how it holds a shape. Both of our courses start there.
What happens during the class
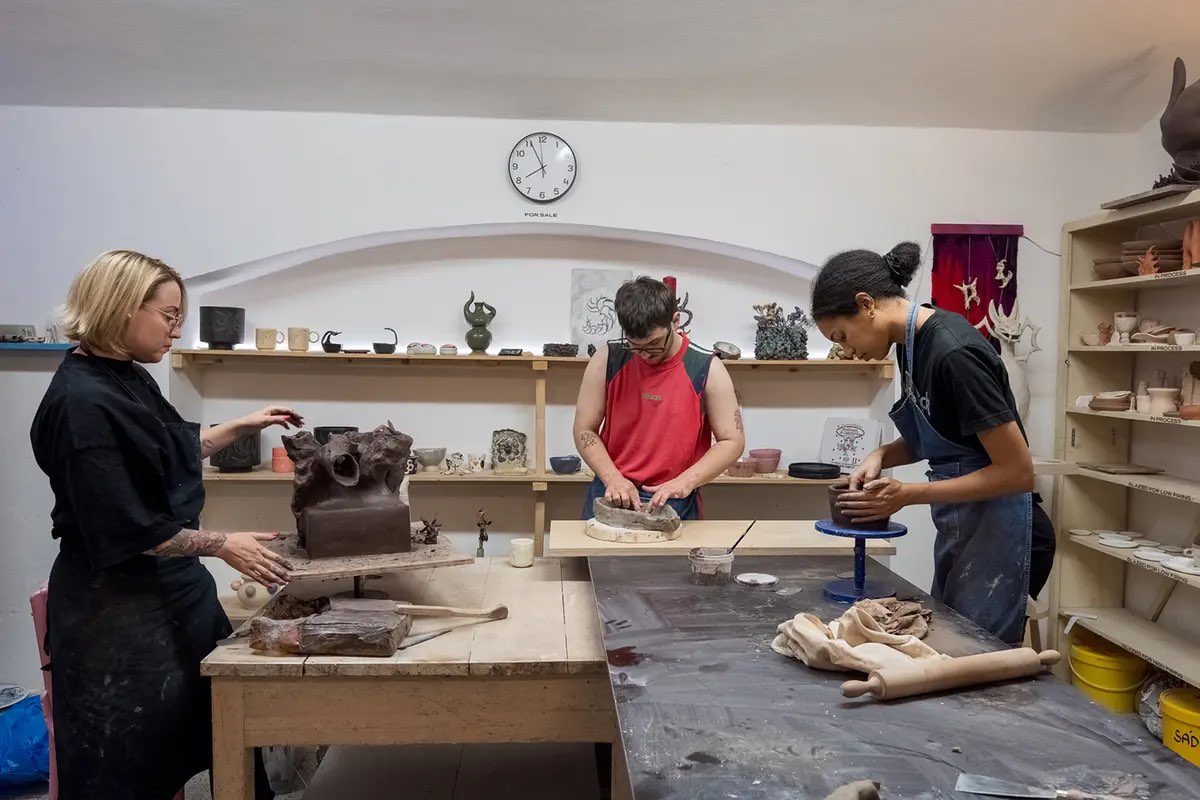
A first session usually has three parts. The teacher demonstrates a technique, you try it with them beside you, and then you make your own piece while they go round the table or the wheels. Expect to start again a few times. Clay is forgiving: until it dries, anything can be squashed back into a ball.
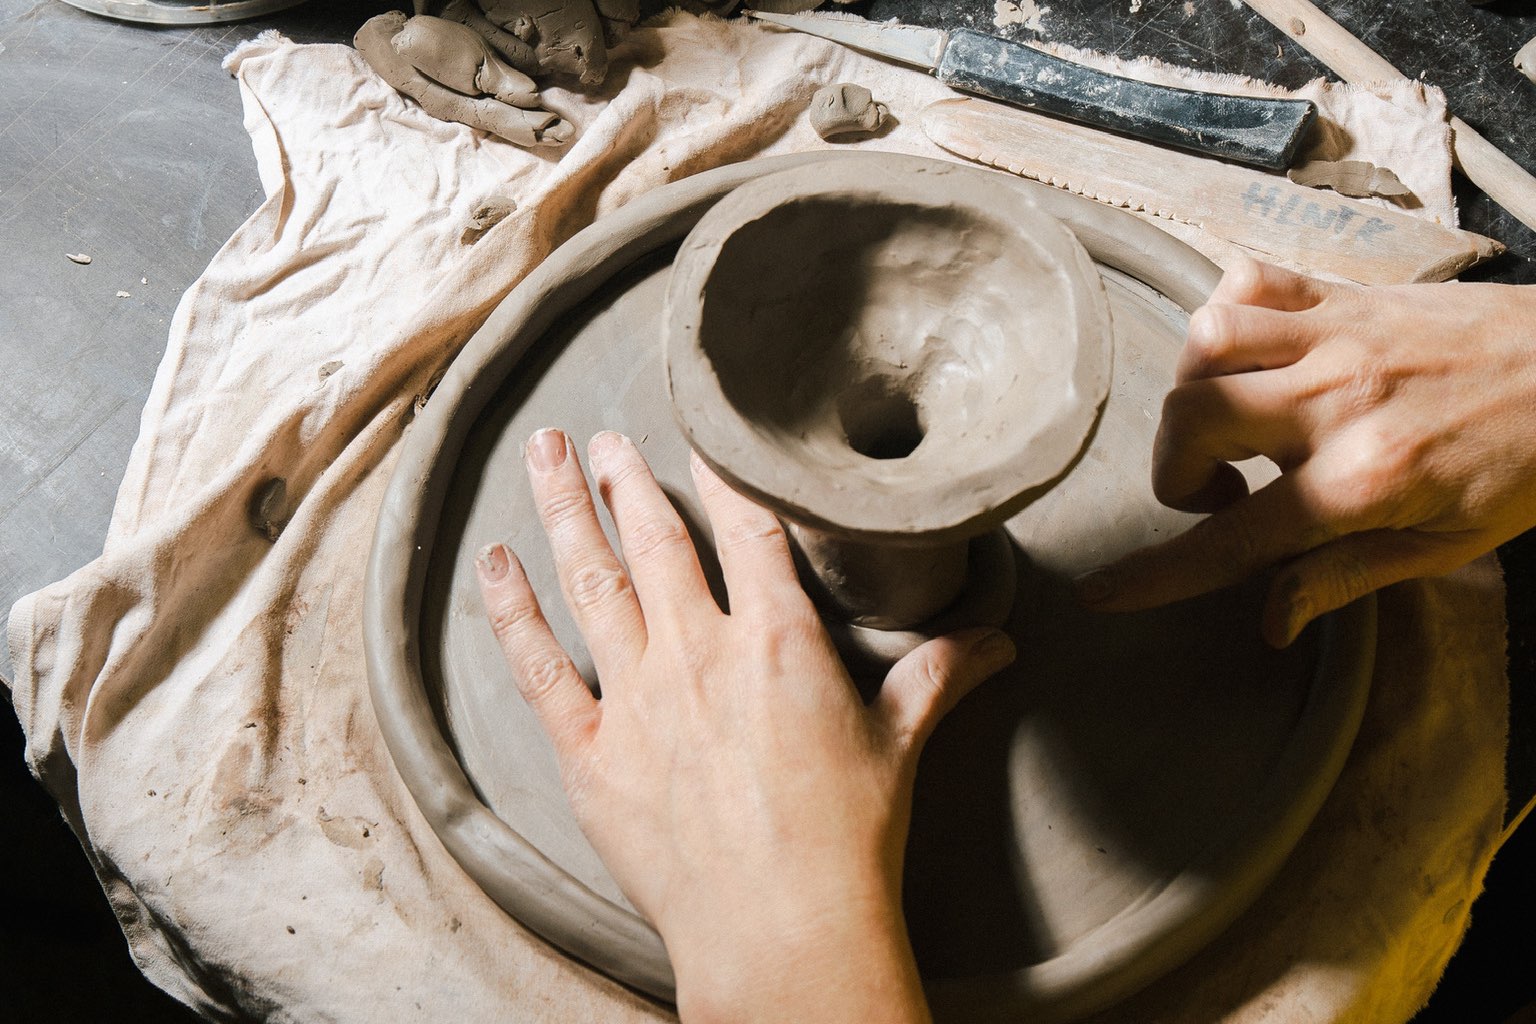
On the wheel, the first hurdle is centring, getting the spinning clay perfectly round before you open it up. It takes most people a whole evening. By hand, the basics are pinching, rolling coils and cutting slabs, and joining pieces so they do not come apart as they dry.
What to wear
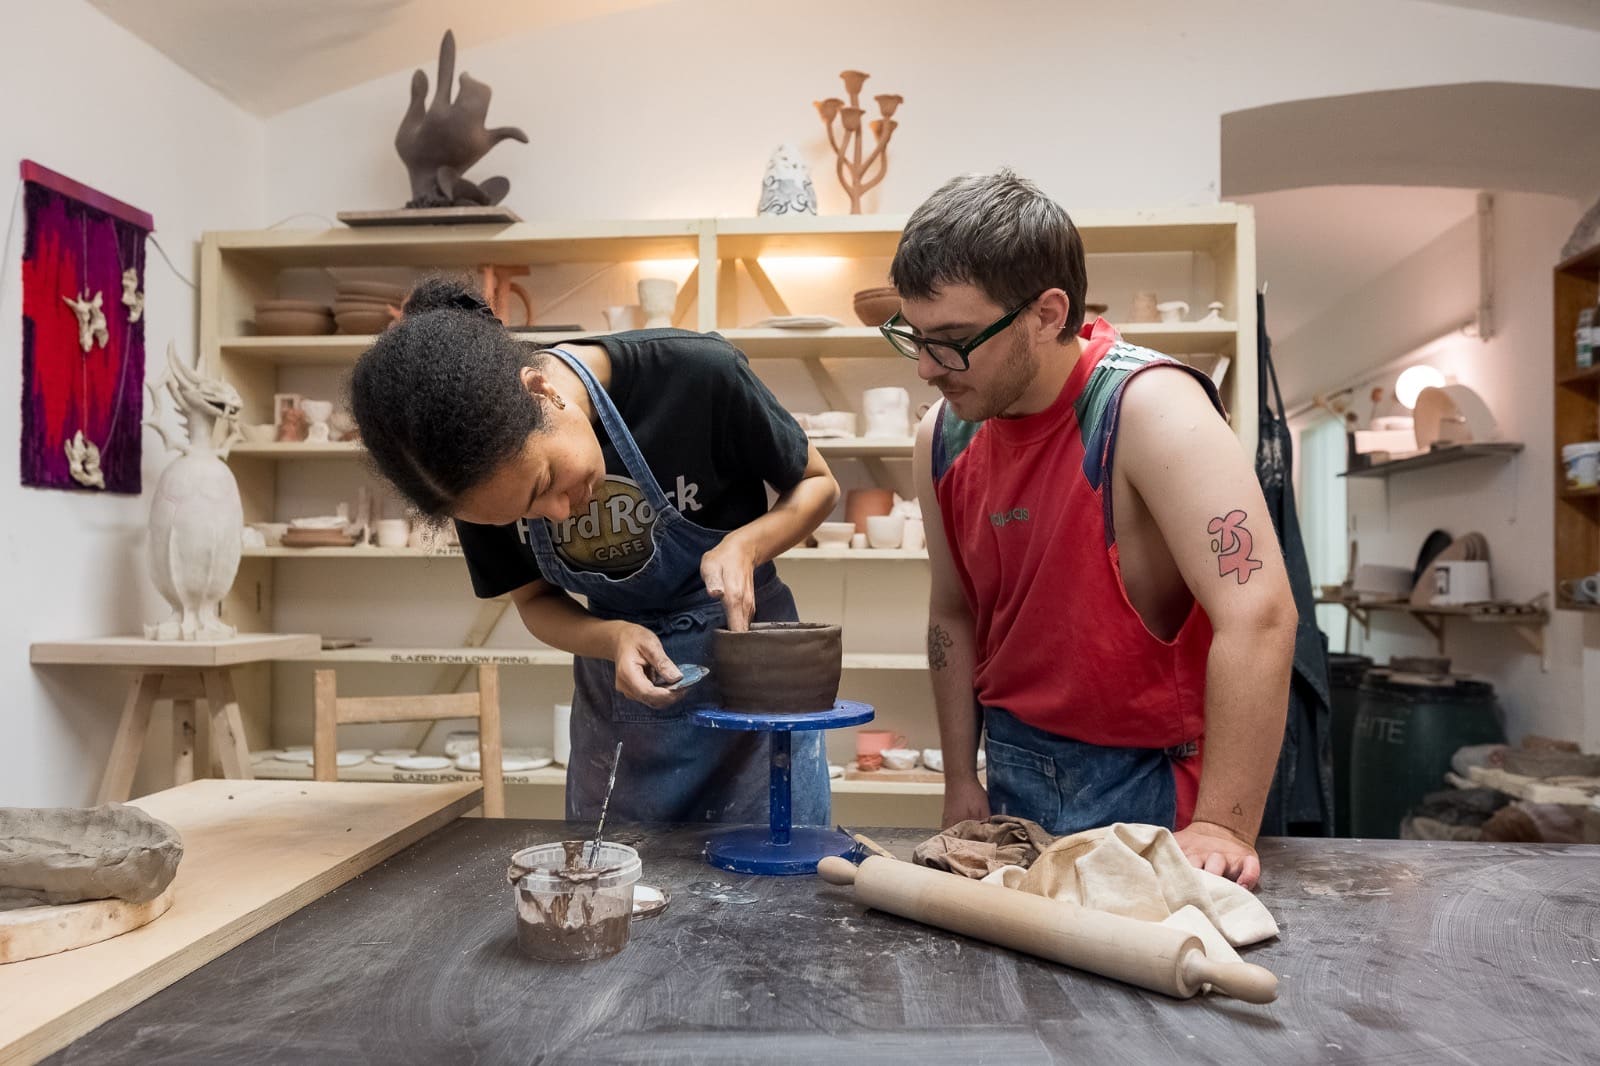
- Clothes you do not mind getting clay on. It washes out, but slowly.
- Short or pushed-up sleeves, especially at the wheel.
- Short nails, or at least no long ones: they cut into the clay.
- Rings and bracelets off. Hair tied back if it is long.
Aprons are usually provided, and so is everything else: clay, tools, water and towels.
Clay and tools
Beginner classes use a clay that is easy to work and fires reliably in the studio's kilns, so you do not need to choose anything. The tools are simple: wooden and metal ribs to smooth and shape, a needle tool, a wire to cut clay, a sponge. At the wheel you also meet trimming tools, which shave the base of a pot once it has firmed up.
Hand-building or the wheel?
Hand-building gives you more freedom of form from the first hour; the wheel gives you round, even vessels but takes longer to get the hang of. If you are unsure, start by hand. The longer comparison is in Hand-building or the wheel?
Why the finished piece takes weeks
The class ends, but the pot is only raw clay. Four more steps follow, and each one needs time.
- Drying. The piece dries slowly on a shelf until all the water is gone. Rushing it makes it crack. A wheel-thrown pot is usually trimmed first, when it is leather-hard, a day or so after throwing.
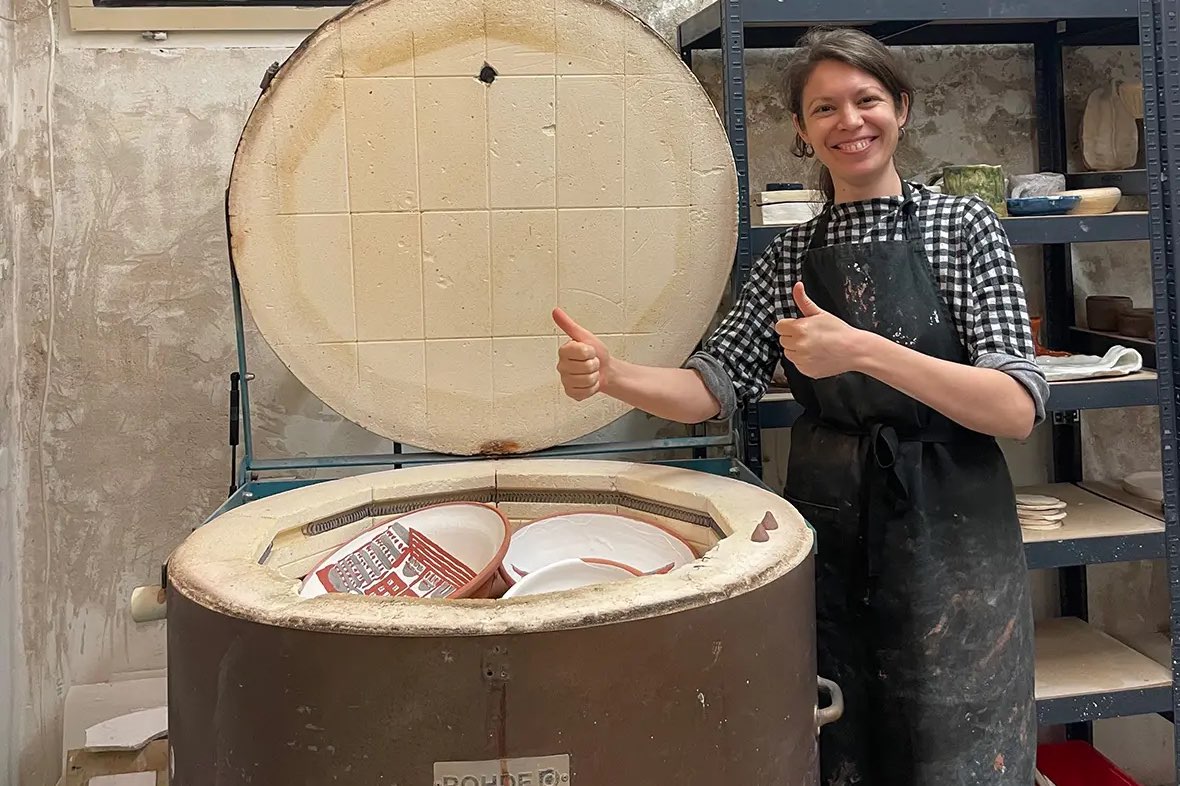
- Bisque firing. The dry piece is fired for the first time at a lower temperature. It becomes hard and porous, ready to absorb glaze. At Hlinotéka the bisque firing is at 900 °C.
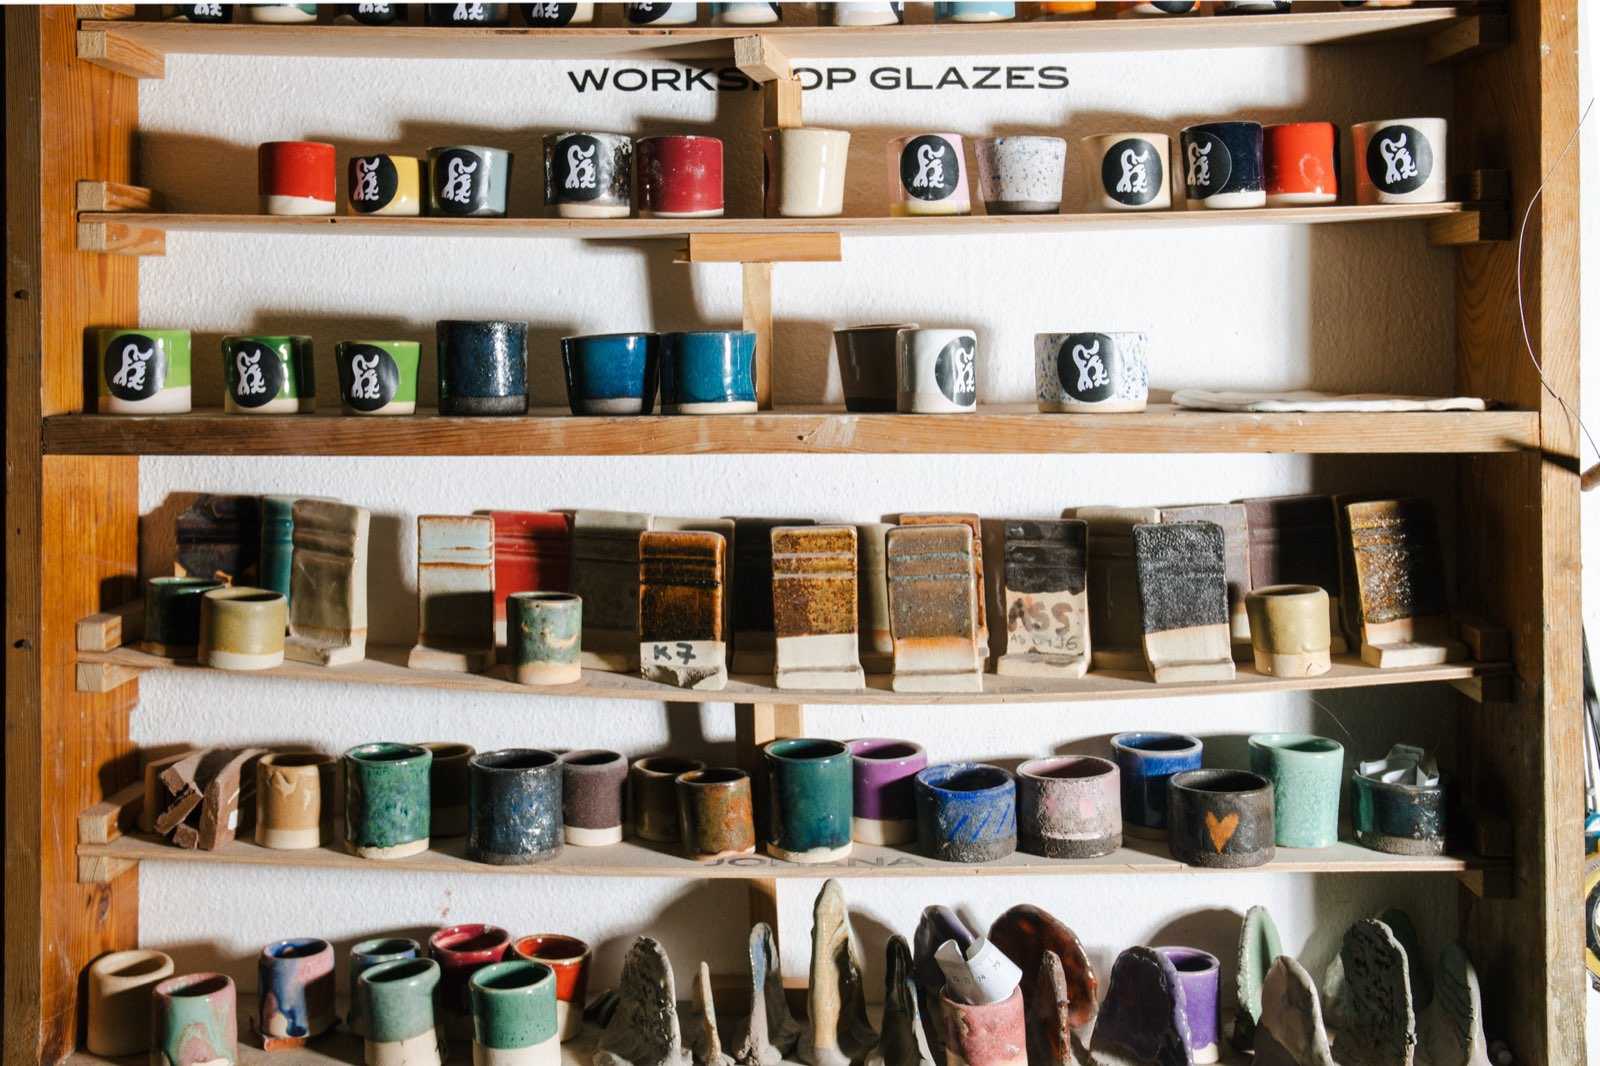
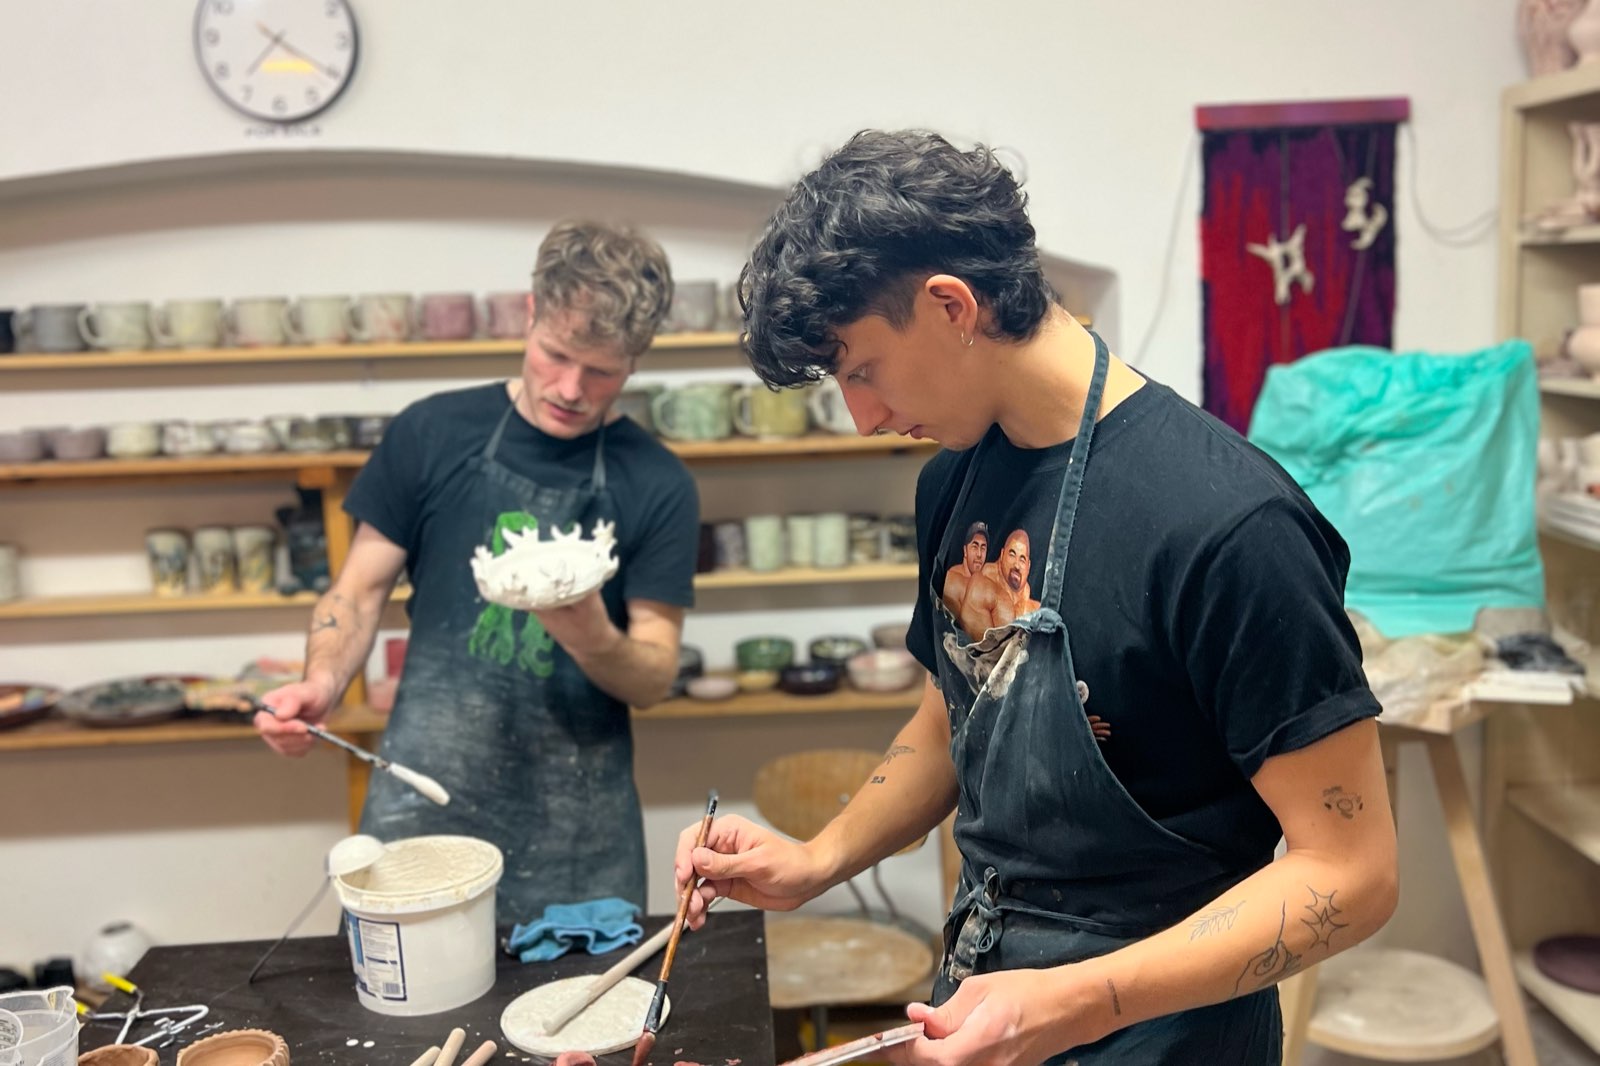
- Glazing. You dip, pour or paint glaze onto the bisque. Glaze looks chalky and dull before firing; the colour you see on a test tile is what it will become.
- Glaze firing. The second firing melts the glaze into a glassy surface. Ours is at 1,100 °C.
When is it ready?
Usually a few weeks after the class, depending on how fast pieces dry and how often the kilns run. On our wheel-throwing course the glazing evening comes about two weeks after trimming, once the pieces have dried and been bisque-fired; the hand-building course has the same two-week gap before its glazing lesson. After the final firing, your pieces are ready to take home.
Try it yourself
Book a beginner courseHlinotéka studio
Hlinotéka is a ceramic studio in Letná, Prague 7, run by Johana Hnízdilová and Borek Smažinka. We teach wheel throwing and hand-building, run open studio evenings, and fire work made elsewhere.
Keep reading
Techniques
Hand-building or the wheel? How to choose your first technique
The two ways of shaping clay compared: how fast you learn, what you can make, how each one feels, and which suits a beginner.
3 min read
Guides
Pottery in Prague: workshops, courses and open studios explained
What a ceramic studio in Prague actually offers: one-off workshops, courses, open studio, membership and firing, what each one is for, and where to start.
4 min read
Techniques
Where to fire your ceramics in Prague, and what the kiln needs to know
Made pottery at home or in a studio without a kiln? How bisque and glaze firing work, why clay matters, what a studio will ask you, and how external firing works.
3 min read